Wednesday, May 22, 2013

A Furniture Reupholstery Project

I enjoy finding furniture bargains. Sometimes, the furniture is really ugly,
or it'll have a good structure, but the fabric it's upholstered in is not appealing.
Today, I'm sharing photos of a recliner I reupholstered with fabric scraps.


The recliner I bought for my mom, who was coming for a visit
and needed something comfortable that would keep her feet propped up,
I bought the chair at a consignment store for $20. The frame was in excellent
shape, and the mechanism works well. I had six panels of fabric rectangles using
three different upholstery velvets already sewn together, which were left over
from a sofa I had reupholstered. I had planned on using the panels to make pillows,
but never got around to it. I didn't know if the fabric pieces would work
or fit on the recliner. They fit beautifully. I added charcoal grey velvet for the head rest
and foot rest, and to the back of the chair. This is recycling at its best. I reupholstered the
recliner without having to buy any fabric, just a little dacron and cotton batting for
adding more plumpness to the seat and back!
The Ugly Recliner "Before being Reupholstered

 Copyright c. 2013 Fuego Phoenix All rights reserved


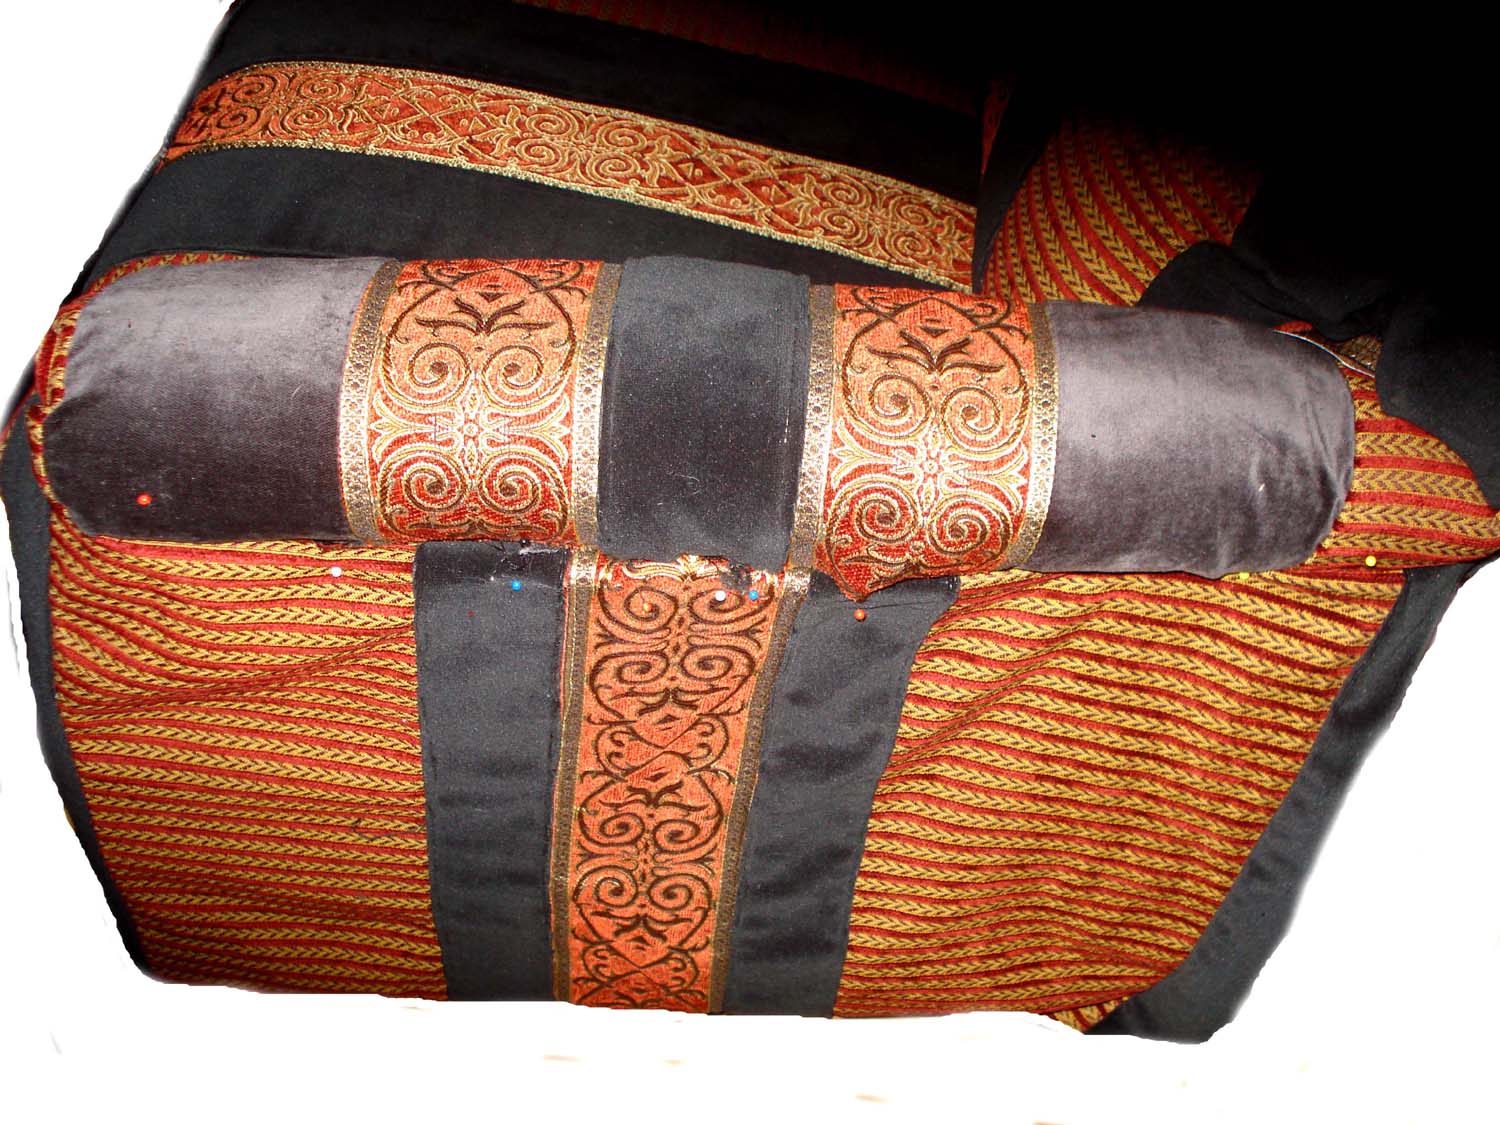
                                            Fabrics are pinned to the chair to match up the design.

  
Copyright C. 2013 Fuego Phoenix All Rights Reserved
Fabric is pinned on the sides to match up the stripes with the stripes on the arm.
Copyright C. 2013 Fuego Phoenix All Rights Reserved 
The finished recliner feels and looks much nicer with velvet upholster and a custom look.
The best part is that I reupholstered the whole chair with fabric scraps I had.

Buy Easy Crafts on a Budget for Kids 4 to 104 here: http://www.amazon.com/Easy-Crafts-Budget-Kids-Volume/dp/0615640826  For a limited time the Kindle version is on sale for $6 USD

Monday, May 13, 2013

Kids Projects

Here is a fun idea for a kids art project.

For this project you'll need:
     a sheet of watercolor paper, cardboard stock, or a piece of cardboard at least 12 in. x 12 in.
     bright colored paints either poster paints or acrylic
     2 or 3 plates
     a towel
     a bowl of water
     a paint brush

Pick 3 colors of paint for your picture. Pour enough paint, or squeeze the paint
from a tube, into a plate, to cover a palm of your childs hand. You might need to spread the
paint over the plate with a brush. Put a separate color on each plate.

Draw a circle about 2 inches in diameter in the center of the paper.

Have your child place the palm of each hand in one color of paint, covering the palm
and bottom of fingers. Place one palm down with the wrist on the edge of the circle,
with the other hand kind of forming a "V" on one side of the circle. Repeat this
in the same color for the opposite side of the circle.

Have your child rinse and dry their hands, then have them dip their palms in the next
color of paint. This time have them place their hands to the right of the previous hand
prints. The left hand may overlap on top of the previous color. Have them rinse and
dry their hands. Then have them dip their palm and fingers in the next color, and
place the hand next to the previous two prints. There will be some overlapping.

If your picture looks unbalanced, add more handprints in any color. The idea is
to create a "world" of your child's hand print. Once you're happy with the picture
allow it to dry overnight. Have your child autograph and date their picture Frame and hang.
Give as a gift. This is a very fun art activity for kids!

Buy Easy Crafts on a Budget for Kids 4 to 104 here:  http://www.amazon.com/dp/B00CR3U2D8


Sunday, May 5, 2013

Kids Fabric Crafts

Here is an easy and fun project to do with your kids.
It requires having fabric scraps, 1/2 yard of Heat n Bond,
scissors and an iron.

Have your child draw a picture on a solid color fabric.
Have them pick out fabric scraps to "color" the
picture. Press Heat n Bond to the back side of the
fabrics. Cut out the parts that will be used. Press

the pieces in place on the background fabric. You
may add a fabric border. If you do, add Heat n
Bond to the back side of your fabric, and press into place.
Attach the fabric picture to a piece of foam board, or
cardboard. You've got a unique piece of art work
to enjoy for years to come!


The picture shown above, was drawn by my grandson,
when he was 3. He picked out the fabrics. I ironed
the picture together. The project is finished,
except attaching the fabric to foam board.

Hint: If you don't have Heat n Bond to press to the
back of the fabric, you can use mod podge glue
or homemade mod podge glue. It's just a bit messier,
and you'll have to iron the fabric before cutting out
the pieces. 

Recipe for homemade mod podge glue:
Take a bottle of Elmers glue and dump it into a clean jar
Add an equal amount of water, as glue, to the jar
50% glue + 50% water
Let sit for a little while. Put a lid on the jar and shake.
Shake some more.
Now you have your own glue for decopaging,
fabric crafts, collages, and kids crafts!

Buy  Easy Crafts on a Budget for Kids 4 to 104 here: http://www.amazon.com/Easy-Crafts-Budget-Kids-Volume/dp/0615640826